


Every standard developer nowadays have their own Git repo. It is a platform where one can open source their code and their projects and where developers can collaborate on challenges and provide fixes. It is like a digital Silicon Valley.
Today, based on my experience, I will be writing on some of the basic Git functionalities
1. Creating a repo
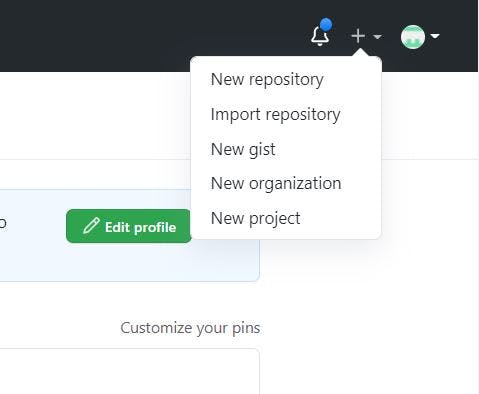
Now, a repo can be created from scratch on Github browser where on my own profile, I go to (+) option and select 'New Repository'.
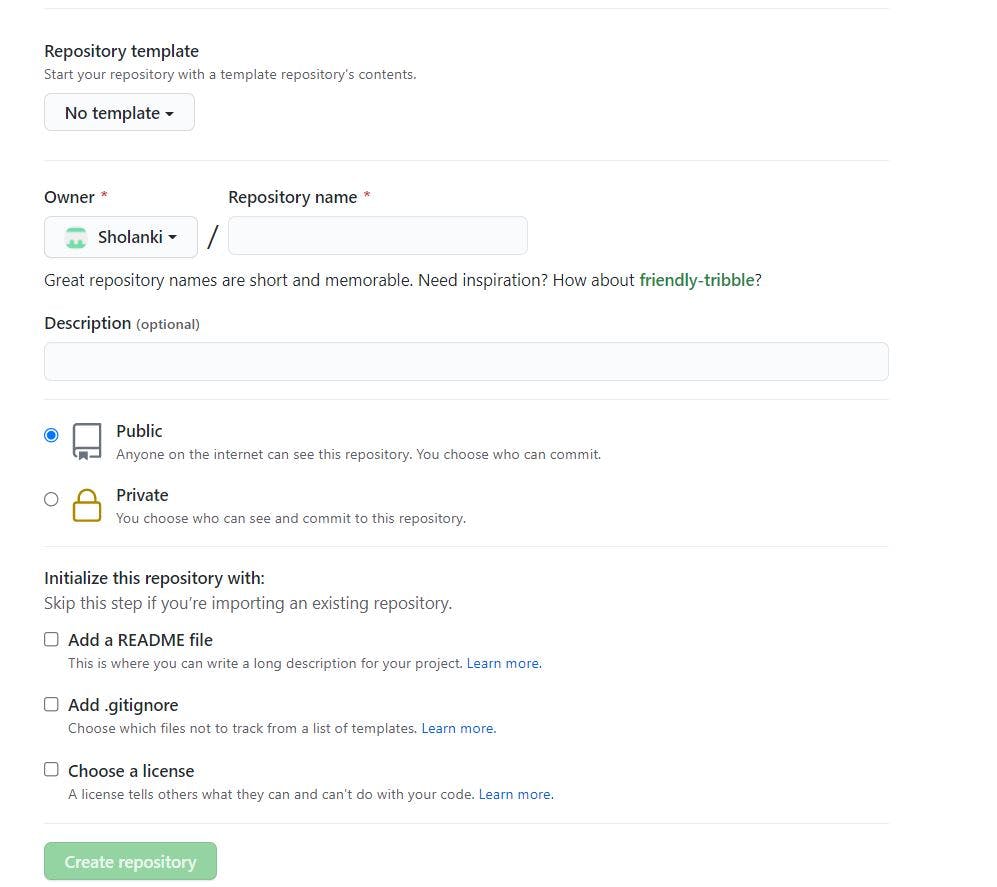
After that, I can give a name to my repo, select any template (if I have one) or not, and initiate it with or without a ReadMe and .gitignore
2. Adding files into repo
Now there are three ways of doing it. The first way of doing it is creating new file from GitHub itself. For this, I simply click on option: 'Add File' -> 'Create New File', give a name for the file and write out its contents.
The second way is by uploading existing files which are stored locally in my desktop/laptop into Github. One way of doing it is clicking on option: 'Add File' -> 'Upload Files' and one can drag and drop files from local storage to Github repo. One piece of warning though, here folders or files having names preceded by (_, .) are not added by this method and only 100 files at maximum can be added at one go.

The third way of uploading files is to first sync my local storage with the github repo and add files using these commands in succession in command line:
git add .
/* Message will be displayed of what files have been added */
git commit -m <comments>
/* Success message will be displayed */
git push
/* You will be asked to sign in to GitHub using your username and password and then the changes will be reflected once success message is displayed*/
3. Forking a repo
This is usually used if I want to use another user's repo as a template for my project or use it as a base from where I can add, remove or modify a few things. It is usually located at the top right corner of screen. After forking it, the repo gets cloned into my repo with the same name and with the statement below that this has been generated from the user/
4. Creating branch
Branches are usually created if I want to work on some challenges or any specific functionality that may not be reflected for all, or if I want to test some new functionality without affecting the existing functionality. 'Master' branch is usually created by default. To create a new branch, one can simply click on the branch located on the top-left of the screen, click on 'Master' and there is an option to select or create a new Branch. Type in the branch name that you want to have and voila, there you have it; a new branch created from an existing branch. Fun fact: the new branch generated will be an exact clone of the master branch.
Well, that's all for now folks. Adios!